Amazon Lightsail is an AWS environment for a fixed price ($5/month, free for the first 90 days).
Lightsail is recommended when you want to “build it easy first” or “make it a fixed cost. “
This time,for those who “want to deploy Laravel to AWS easily, How to deploy a Laravel project on GitHub to Lightsail I explained briefly how to deploy a Laravel project on GitHub to Lightsail.
Prerequisite.
Here is the premise of this article.
- Laravel version is Laravel 11, which is the latest version at this time.
- Projects have already been pushed to GitHub in advance
- For those who already have an AWS account
- For users who are familiar with command operations such as file editing, etc., as there are many operations using commands.
- This article will cover the deployment and database integration of GitHub projects; it does not cover HTTPS or storage configuration.
Laravel environment built on AWS Lightsail
Let us explain the procedure.
Lightsail Instance Creation – Default Screen Display
First, login to the AWS Console and search for “lightsail”. Create a new lightsail instance. 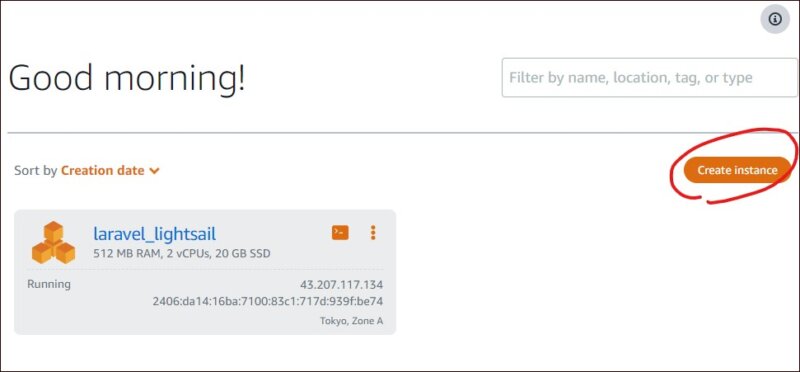 For Region, select Tokyo, ZoneA, which was selected by default. For [Select a platform], select Linux/Unix. For [Select a blueprint], choose LAMP (PHP 8).
 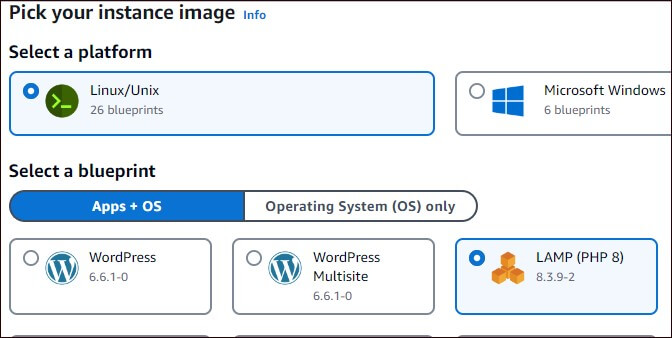 Choose your instance plan for $5. In 【Identify your instance】, give a name to your instance.
 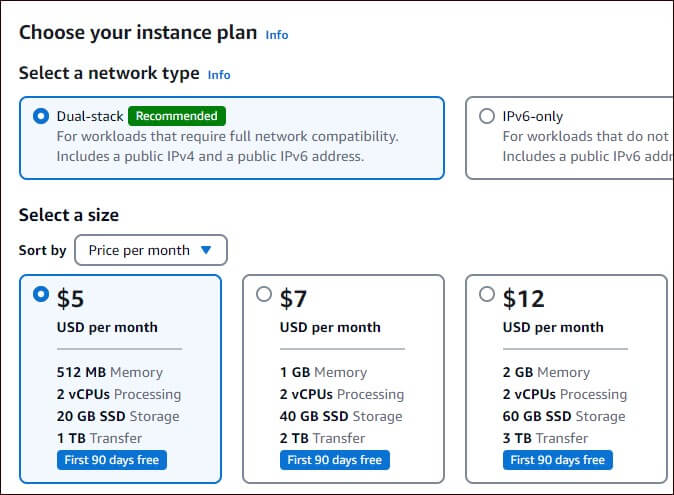 Finally, click the 【Create instance】 button. An instance is created. After creation, the following screen is displayed.
 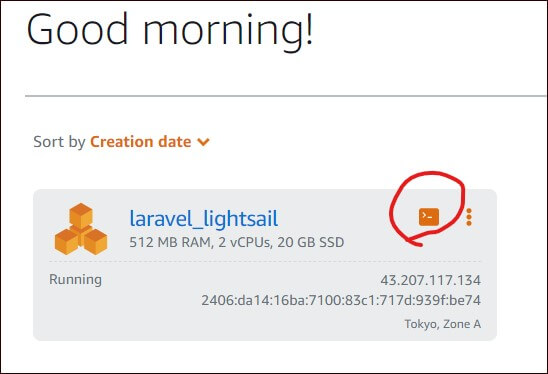 Click on the instance name (in blue) to see the IPv4 address. Clicking on the address will display the default screen in your browser.
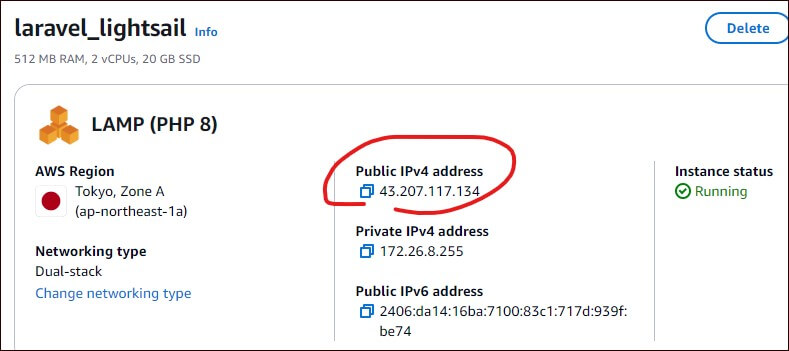
Copy the project with Git Clone
Next, clone the project on GitHub to Lightsail. First, click the area circled in red. A command input screen will appear. You will be able to enter commands in your browser.  First go to cd htdocs.
cd htdocs
Now, run the git clone command.
git clone プロジェクトのHTTPS
You will be asked for your GitHub user name and personal access token. Enter each of them. You can check your personal access token in settings/developer settings on github. For more information on how to issue and check your personal access token, please refer to the following article.

After the git clone is successfully completed, use the ls command to confirm that the project has been created. In my case, I cloned a project called members11. ![]() Next Steps.
Next Steps.
Apache Configuration
Change the default Apache. open the bitnami.conf file.
vim /opt/bitnami/apache2/conf/bitnami/bitnami.conf
Here, change the following two places to the project name to match the project.
DocumentRoot "/opt/bitnami/apache/htdocs/プロジェクト名/public"
<Directory "/opt/bitnami/apache/htdocs/プロジェクト名/public">
In my case, I named my project “members11”, so I did the following 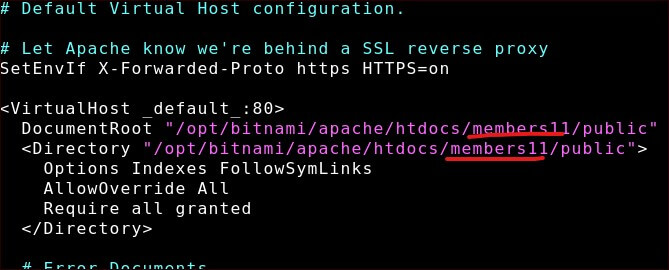 Reboot the system after saving changes.
sudo /opt/bitnami/ctlscript.sh restart
Database Password Check
Check the database password with the following command.
cat bitnami_application_password
Note the password that is displayed. Next, run the mysql command.
/opt/bitnami/mariadb/bin/mariadb -u root -p
You will be asked for your password. Enter the password you have just memorized. 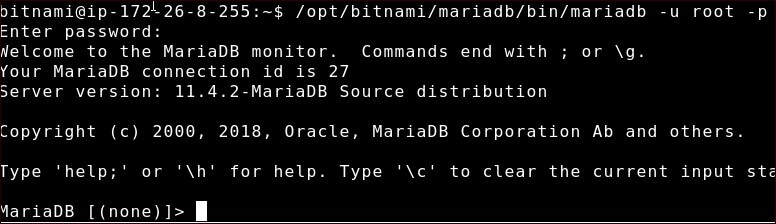 Create a database. In this example, we will use laravel.
create database laravel;
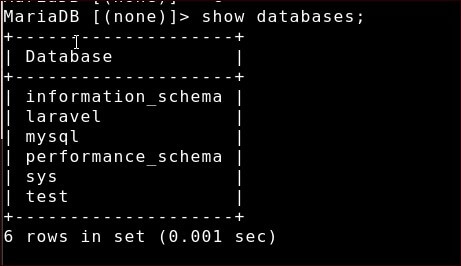
Check the database you have created.
show databases;
 Ctrl+D to exit.
Enabling phpMyAdmin
Since we are here, we will also be able to use phpMyAdmin. Execute the following command.
vim /opt/bitnami/apache/conf/bitnami/phpmyadmin.conf
Disable Require local with #. In addition, add the following code before the ErrorDocument 403. The following is configured to allow all IP addresses, but you may change it as you see fit.
Alias /phpmyadmin "/opt/bitnami/phpmyadmin"<Directory "/opt/bitnami/phpmyadmin">
Options -Indexes +FollowSymLinks -MultiViews
AllowOverride All
  #Require local
<IfVersion < 2.3>
Order allow,deny
Allow from all
Satisfy all
</IfVersion>
<IfVersion >= 2.3>
Require all granted
</IfVersion>
ErrorDocument 403 "For security reasons, this URL is only accessible using localhost (1>
  # AuthType Basic
  # AuthName phpmyadmin
  # AuthUserFile "/opt/bitnami/apache/users"
  # Require valid-user
</Directory>
Reboot the system after saving changes.
sudo /opt/bitnami/ctlscript.sh restart
Creation of .env file and database configuration
Next, return to the project.
cd /opt/bitnami/apache2/htdocs/プロジェクト名
In the home directoryhtdocsA symbolic link exists to the Therefore, you can also navigate to the project directory as follows (1) Go to the home directory
cd
Go to the project directory
cd htdocs/プロジェクト名
Create an .env file in your project based on .env.example. Execute the following command
cp .env.example .env
In addition, create an application key.
php artisan key:generate
Edit the .env file you created.
vim .env
Modify the settings related to the database. Enter the password that you confirmed in the previous section.
DB_CONNECTION=mariadb
DB_HOST=127.0.0.1
DB_PORT=3306
DB_DATABASE=laravel
DB_USERNAME=root
DB_PASSWORD=パスワード
Save and close the .env file.
Install library and migrate to database
Install the library in your project.
composer install
Migrate the database.
php artisan migrate
After running migrate, check inside phpMyAdmin. If you enter the project URL/phpmyadmin, you will see the phpmyadmin screen. If you enter DB_USERNAME and DB_PASSWORD entered in the .env file, you can log in.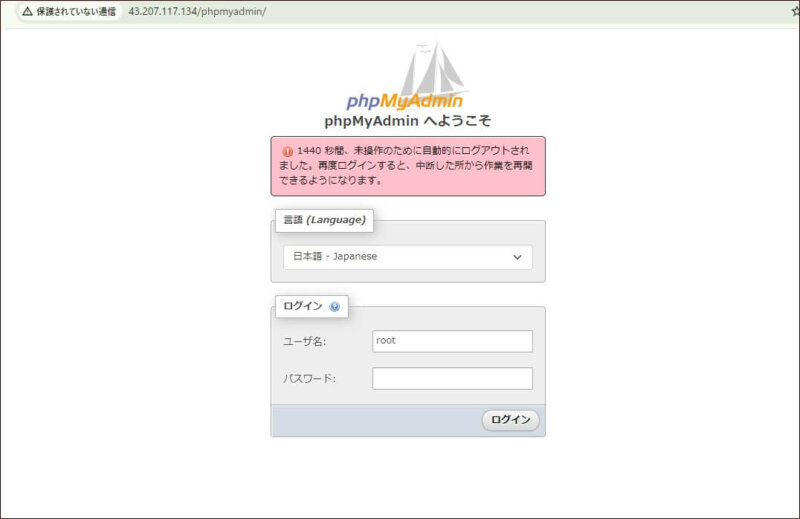
Browser display
Display the project in your browser. Click on the Public IPv4 address of the instance you just checked. If a Permission denied error is displayed, change the permissions as follows
sudo chmod -R 777 storage/
 After executing the command, if the project is successfully displayed, it is a success.
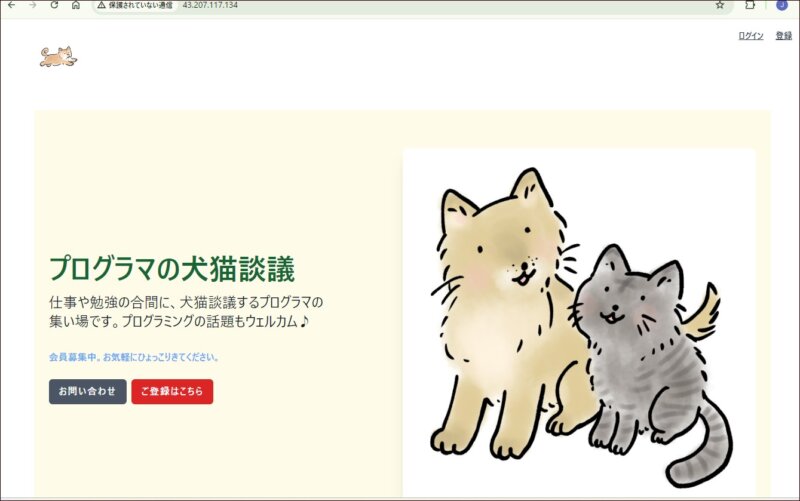
Advantages and disadvantages of Amazon Lightsail (and budgetary aspects)
This is how to deploy a Laravel project using Lightsail and connect it to the database. If you want to use Laravel for production environment, you will need to use HTTPS, storage settings, etc., but we will skip these operations this time. Finally, let me briefly describe the advantages and disadvantages of Amazon Lightsail. They are as follows
Amazon Lightsail Advantages and Disadvantages
- Advantages
- low cost
- Easy to set up
- demerit
- Limited customization
- Additional money for databases, storage, etc.
Lightsail is good for small projects, just like using a rental server . It is much easier than using EC2 because it has a wide range of features! However, it is not suitable for large-scale projects. It is also not suitable for projects that require a lot of customization, as you cannot customize it in many ways. The AWS Lightsail introduction also recommends Lightsail for “building small business applications.

A little caution must be exercised in terms of fees. In fact, the fixed fee covers only the server portion. The database, storage, and other costs are extra. For example, the database costs from $15 per month. However, as with instances, it is free for 90 days. In this case, we created one database. By the way, we did not use storage this time, but if you do, you will need to set it up separately. Storage is also an extra charge. Storage starts at $1/month and is free for the first year.
Prices and conditions may change again, please see the official website for details.

in the end
There are various ways to build a Laravel environment on AWS: the basic method is to use EC2 to build web servers one by one, but this is time-consuming. Also, since it is a “pay-as-you-go” system, it is difficult to know how much it will cost in the end. Of all the methods we tried Lightsail is the easiest. Lightsail is the easiest. However, “easy” and “flexible” are the exact opposite of each other. If you want to customize the Lightsail environment, we do not recommend it, but we feel it is a convenient service for small projects.