With Laravel Volt, the Livewire code can be placed in the blade.php file.
Previously, the code for Livewire had to be managed in a separate file.
With Laravel Volt, Livewire code can be consolidated into a single file, just like a Vue.js single page application (SPA).
I will show you how to use Laravel Volt.
How to use Laravel Volt
Let’s start with the installation process. After installation, I will show you how to use Laravel Volt at each of the four levels.
Laravel Volt Installation
Execute the following command:
|
1 |
composer require livewire/volt |
Continue to install the service provider by performing the following:
|
1 |
php artisan volt:install |
LevLevel1: Create a counter in Laravel Volt.
First, let’s create a simple counter.
Create a volt file named counter.
|
1 |
php artisan make:volt counter |
In resources/views/livewire, you will find a counter.blade.php file. Open the file and edit as follows
【counter.blade.php】
|
1 2 3 4 5 6 7 8 9 10 11 12 13 |
<?php use function Livewire\Volt\{state}; state(['count' => 0]); $increment = fn () => $this->count++; ?> <div style="margin:10px;"> <h1>{{ $count }}</h1> <button wire:click="increment" style="border: 1rem solid green;">+クリックしてね</button> </div> |
Edit the resources/views/welcome.blade.php file as follows so that the counter file you created is displayed.
【welcome.blade.php】
|
1 2 3 4 5 |
<html> <body class="antialiased"> @livewire('counter') </body> </html> |
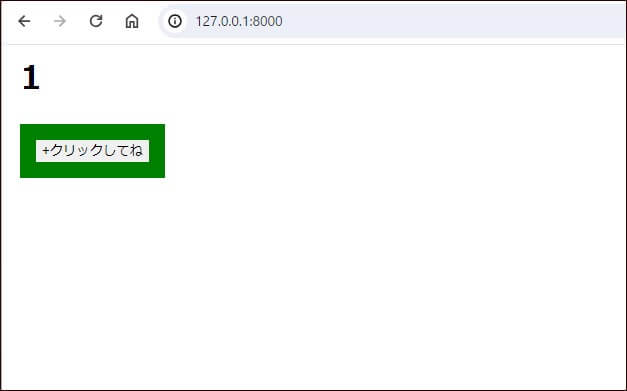
If you view the welcome.blade.php file (top page), you will see the following counter. Press [クリックしてね(Click here)] and the number will increase.


The counter was easily made.
Level 2: Try to incorporate counters into other pages
With the method on level 1, you would have to put the code inside the Livewire page. In the end, two files are needed, right?
In Level 2, instead of creating a Livewire page, we will implement the counter function in a single file.
Put the following code in the resources/views/welcome.blade.php file.
【welcome.blade.php】
|
1 2 3 4 5 6 7 8 9 10 11 12 13 14 15 16 17 18 19 20 |
<?php use function Livewire\Volt\{state}; state(['count' => 0]); $increment = fn () => $this->count++; ?> <html> <body class="antialiased"> @volt('counter') <div style="margin:10px;"> {{-- 2行追加 --}} <h1>{{ $count }}</h1> <button wire:click="increment" style="border: 1rem solid green;">+クリックしてね</button> </div> @endvolt </body> </html> |
<?php ~ ? > part was previously placed in app/Http/Livewire, but with Laravel Volt, it can be placed in the blade.php file as shown here.
When the top page is opened, the counter is displayed in the same way as in level 1.

Level 3: Modal creation with Laravel Volt
Let’s implement some more advanced features. The following article shows how to create a modal using Livewire.
This will be done using Laravel Volt. Please refer to the above article for details on how it works. Laravel Breeze should also be installed beforehand.
In this article, I will rewrite the code introduced in the above article using Laravel Volt.
Open the resources/views/welcome.blade.php file again. Insert the code as follows:
【welcome.blade.php】
|
1 2 3 4 5 6 7 8 9 10 11 12 13 14 15 16 17 18 19 20 21 22 23 24 25 26 27 28 29 30 31 32 33 34 35 36 37 38 39 40 41 42 43 44 45 46 47 48 49 50 51 52 53 54 |
<?php use Livewire\Volt\Component; new class extends Component { public $showModal = false; public function openModal() { $this->showModal = true; } public function closeModal() { $this->showModal = false; } } ?> <x-guest-layout> @volt <div> <button wire:click="openModal()" type="button" class="px-4 py-2 font-bold text-white bg-blue-500 rounded hover:bg-blue-700"> モーダルを表示 </button> @if($showModal) <div class="fixed z-10 inset-0 overflow-y-auto"> <div class="flex items-end justify-center min-h-screen pt-4 px-4 pb-20 text-center sm:block sm:p-0"> <div class="fixed inset-0 bg-gray-500 bg-opacity-75 transition-opacity"></div> <div class="inline-block align-bottom bg-white rounded-lg text-left overflow-hidden shadow-xl transform transition-all sm:my-8 sm:align-middle sm:max-w-lg sm:w-full"> <div class="bg-white px-4 pt-5 pb-4 sm:p-6 sm:pb-4"> <h3 class="text-lg leading-6 font-medium text-gray-900"> モーダルタイトル </h3> <div class="mt-2"> <p class="text-sm text-gray-500"> モーダルの内容をここに記述します。 </p> </div> </div> <div class="bg-gray-50 px-4 py-3 sm:px-6 sm:flex sm:flex-row-reverse"> <button wire:click="closeModal()" type="button" class="mt-3 w-full inline-flex justify-center rounded-md border border-gray-300 shadow-sm px-4 py-2 bg-white text-base font-medium text-gray-700"> 閉じる </button> </div> </div> </div> </div> @endif </div> @endvolt </x-guest-layout> |
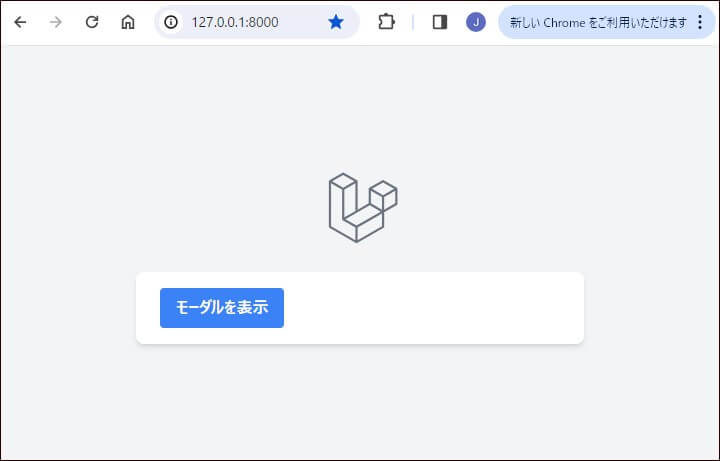
Run npm run dev. When you open the top page, the modal function is implemented.

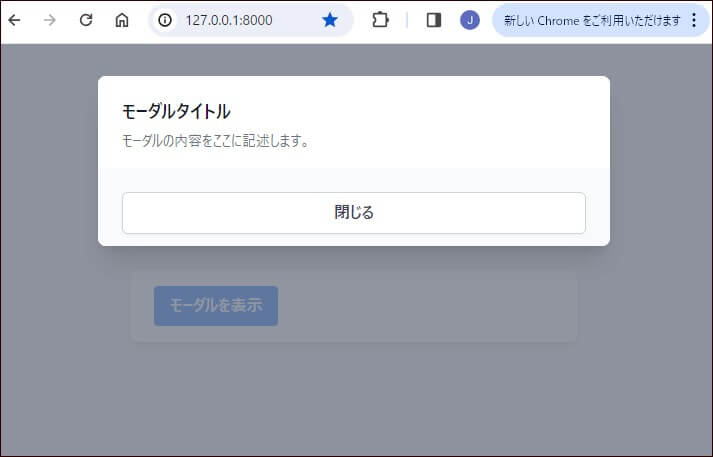
Click [モーダルを表示(Show Modal)], and the modal will appear as shown below.

Level 4: Laravel Folio and Laravel Volt together
Finally, we will use a combination of Laravel Folio and Laravel Volt. For more information, please see the following.
By using Laravel Folio, you can display files for Laravel Volt without writing route settings.
First, install Laravel Folio.
|
1 |
composer require laravel/folio |
|
1 |
php artisan folio:install |
Next, create a modal.blade.php file in resources/views/pages. There, paste the code created in level 3 as it is.
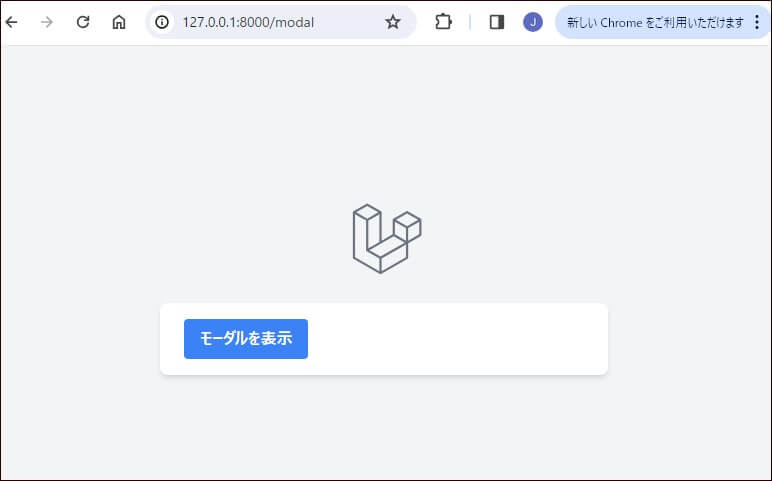
When /modal is opened, the modal is displayed as follows.


You can create a modal without setting up a route or creating a file for Livewire. It is quite efficient.
Finally
I have introduced Laravel Volt. In addition to what we have introduced, you can do a lot more. For more information, please refer to the official manual below
When I actually used it, I thought it was convenient, but at the same time, I also felt that it would be difficult to manage if the amount of code was large.
Depending on the project, it may be easier to create separate codes for Livewire as in the past.
By the way, Laravel Volt, along with Laravel Folio and Laravel 11, are new features introduced in the July 2023 Laracon (Laravel’s conference) video.

If you are interested in Laravel 11 or Laravel Folio, please take a look here.


